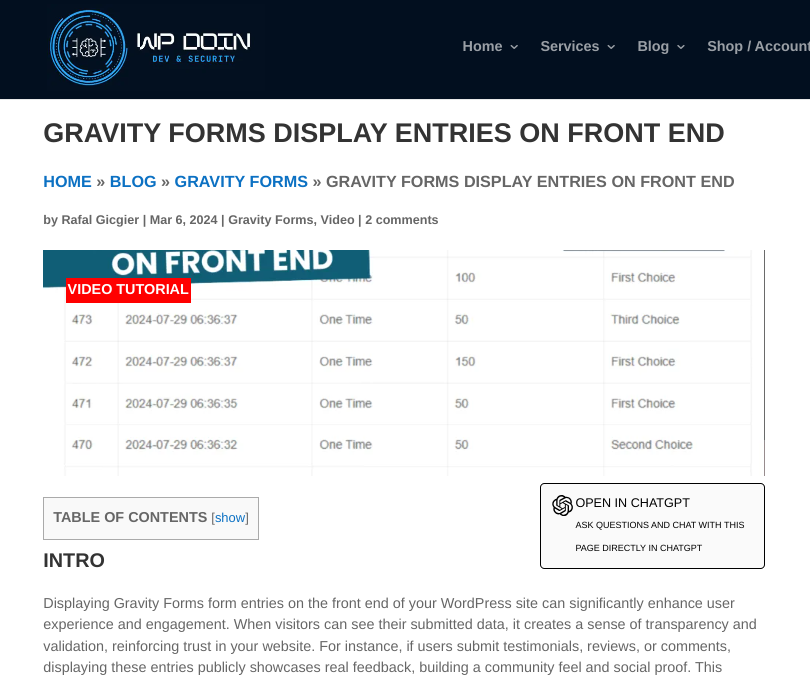
Gravity Forms is known for the versatility of ‘getting data in’. But what are the different ways of displaying entries on the front end? And how easy is it?
Here are 5 ways of displaying Gravity Forms entries on your WordPress website – choose the most appropriate method for you, whether you are a beginner or developer:
5 Ways To Display Gravity Forms Entries
1. Tablesome Plugin: To Display User Entries As WordPress Posts
Difficulty: No Code
Plugins: Gravity Forms (Any license) / Tablesome (Any licence)
Steps:
- Download and install both Gravity Forms and Tablesome plugins.
- Create your page or post.
- Build your Gravity Form.
- Configure your trigger inside Tablesome settings:
- Create a new trigger & name it
- Select trigger type from the drop-down box > ‘On Form Submit’
- Select Form ID > [name of form created in step 2 above]
- Choose action on form submission:
- Select ‘Add New WP Post’
- *If you have made a special post type for these entries, select the post type
- Map post fields
- When an entry is created, open the related generated draft post:
- Proofread draft post and hit ‘Publish’
2. Post Tables Pro Plugin: To Display User Entries In A Table

Difficulty: No Code
Plugins: Gravity Forms (Any license) / Post Tables Pro (Any licence)
Steps:
- Download and install both Gravity Forms and Post Tables Pro plugins.
- Open up Post Tables Pro ‘Settings’ – select the ‘Table’ format.
- Create the page that will host the table of entries.
- Insert the ‘Table’ shortcode for the corresponding forms into the host page or post.
- Publish the page or post showcasing Gravity Forms entries.
3. Gravity Forms API: To Display User Entries In A Table
Difficulty: API code
Plugins: Gravity Forms (Any license)
Steps:
- Download and install both Gravity Forms
- Using the Gravity Forms API, use the
GFAPI::get_entries()function to select the form ID from which to retrieve entries (the example below uses form ID ‘1’, but you should change this as per your requirement):<?php
$form_id = '1';
$entry = GFAPI::get_entries( $form_id );
?>
- Display the entries for the selected form on the front end of your WP website. The following format of code will loop through the entries and output according to your customised details e.g. entry data 1 = ‘Testing Field’ etc.
<?php

foreach ( $entry as $entry_data ) {

echo '<p>Testing Field: ' . $entry_data[1] . '</p>';

echo '<p>Second Choice: ' . $entry_data[2] . '</p>';

}
- Enhance your entry output with some conditional logic to tailor which entries appear, based on custom rules. e.g.if the first of multiple choices is selected…
<?phpforeach ($entry as $entry_data) {

if ($entry_data[3.1] === 'First Choice') {

echo '<p>This entry has the first choice selected:</p>';

// Additional code for displaying other fields or custom formatting

}

}
- Add your own custom HTML table markup to craft the most appealing output for front-end users e.g. below is sample HTML table code following the example in the previous steps:
<?php// Assuming $entry is already defined as in your previous code

echo '<table border="1">';

echo '<tr>';

echo '<th>ID</th>';

echo '<th>Date Created</th>';

echo '<th>Testing Field</th>';

echo '<th>Second Choice</th>';

// Add more <th> elements for additional fields as needed

echo '</tr>';

foreach ($entry as $entry_data) {

echo '<tr>';

echo '<td>' . $entry_data['id'] . '</td>';

echo '<td>' . $entry_data['date_created'] . '</td>';

echo '<td>' . $entry_data[1] . '</td>';

echo '<td>' . $entry_data[2] . '</td>';

// Add more <td> elements for additional fields as needed

echo '</tr>';

}

echo '</table>';

?>
4. Gravity Forms Entry Blocks: To Display Entries Via WP Block Editor

Difficulty: No Code
Plugins: Gravity Forms (Any license) / Gravity Perks Entry Blocks (Any licence)
Steps:
- Download and install both Gravity Forms and Gravity Perks Entry Blocks plugins.
- Set up your Gravity Form for the input.
- Add a Gravity Forms Entries block to your desired page.
- Select your form.
- Opt for your preferred output format: entries tables, entries loop, single entry.
5. GravityView: To Display Entries With Advanced Features

Difficulty: No Code
Plugins: Gravity Forms (Any license) / GravityView (Any licence)
Steps:
- Download and install both Gravity Forms and Post Tables Pro plugins.
- Create the input Gravity Form.
- Select the formatted preset output of the GravityView.
- Choose the form to connect to your preset output.
- Configuring the single entry. and multiple entries interface of your GravityView
- Publish your GravityView.
- Embed your GravityView on the desired page or post via a shortcode.
References:
- https://geoffgraham.me/the-cheap-lazy-way-to-display-form-entries-on-the-front-end-of-a-wordpress-site/
- https://barn2.com/blog/display-gravity-forms-entries/
- https://wp-doin.com/gravity-forms-display-entries-on-front-end/
- https://gravitywiz.com/documentation/gravity-forms-entry-blocks/
- https://www.gravitykit.com/products/gravityview/